How to Customize Your Own Jewelry Box
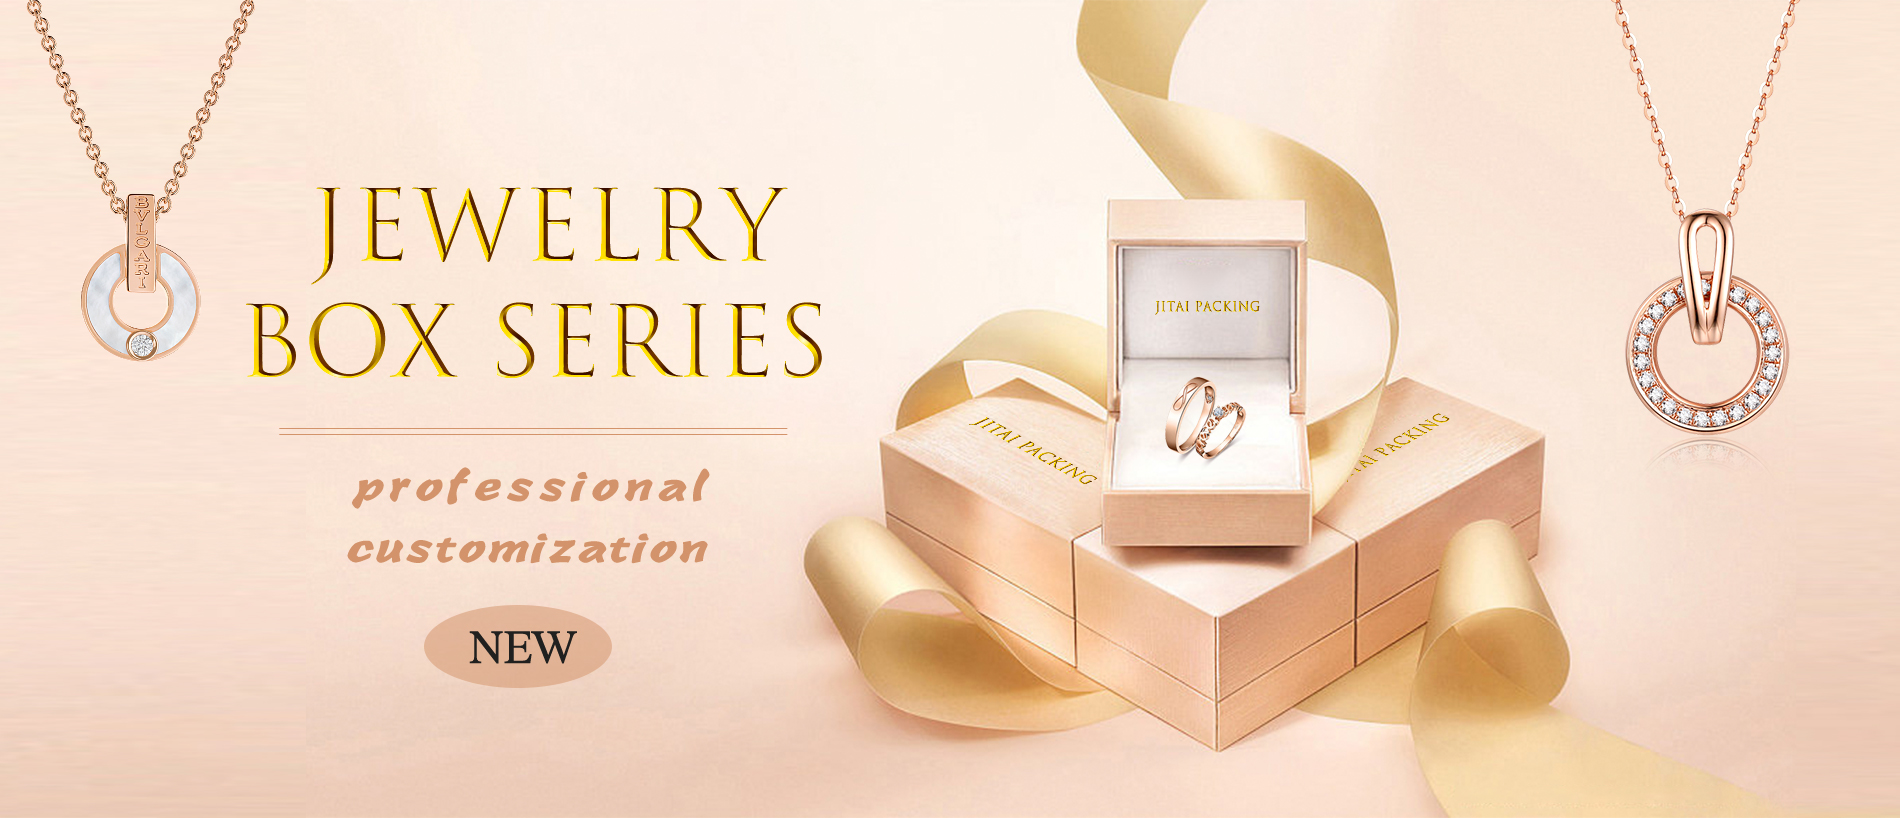
Are you tired of generic jewelry boxes that fail to reflect your unique style? With a little bit of creativity and some simple tools, you can customize your own jewelry box that is both functional and stylish. In this article, we will guide you through the process of customizing your own jewelry box.
Step 1: Select Your Jewelry Box
The first step in customizing your jewelry box is selecting the right box. Consider the size and shape of the box, as well as the materials and colors that will best match your style. You can find plain wooden or cardboard boxes at many craft stores, or you can repurpose an old box that you already have.
Step 2: Gather Your Materials
To customize your jewelry box, you will need a few basic materials, including paint or stain, brushes, and any additional decorations or embellishments that you want to add. Some popular decorations for jewelry boxes include glitter, rhinestones, and ribbon.
Step 3: Prepare Your Box
Before you start customizing your jewelry box, you will need to prepare the box by sanding it down and wiping it clean. This will ensure that the paint or stain adheres properly to the surface of the box.
Step 4: Paint or Stain Your Box
Once your box is prepared, it's time to paint or stain it. Choose a color that complements your style, and use a brush to apply the paint or stain in even strokes. You may need to apply multiple coats to achieve the desired color and finish.
Step 5: Add Your Decorations
After your box is painted or stained, it's time to add your decorations. Use glue to attach any additional embellishments you have chosen, such as glitter or rhinestones. You can also use ribbon to create a border around the edges of the box.
Step 6: Let Your Box Dry
Once you have finished customizing your jewelry box, it's important to let it dry completely before using it. This will ensure that the paint and decorations are fully set and won't smear or come off on your jewelry.
With these simple steps, you can create a one-of-a-kind jewelry box that perfectly matches your unique style. So gather your materials, choose your colors, and let your creativity run wild!
English Overview: Learn how to customize your own jewelry box with this step-by-step guide. Choose the right box, gather your materials, prepare the surface, paint or stain your box, add your decorations, and let your box dry. Create a unique jewelry box that reflects your personal style.
Keywords: jewelry box, customization, DIY
The article "How to Customize Your Own Jewelry Box" is a detailed guide that provides step-by-step instructions on how to create a personalized jewelry box. The article begins by discussing the importance of selecting the right box and gathering the necessary materials. It then provides instructions on how to prepare the surface of the box, paint or stain the box, and add decorations such as glitter and rhinestones. Throughout the article, readers are provided with tips and advice to help them create a beautiful and functional jewelry box that reflects their unique style.


