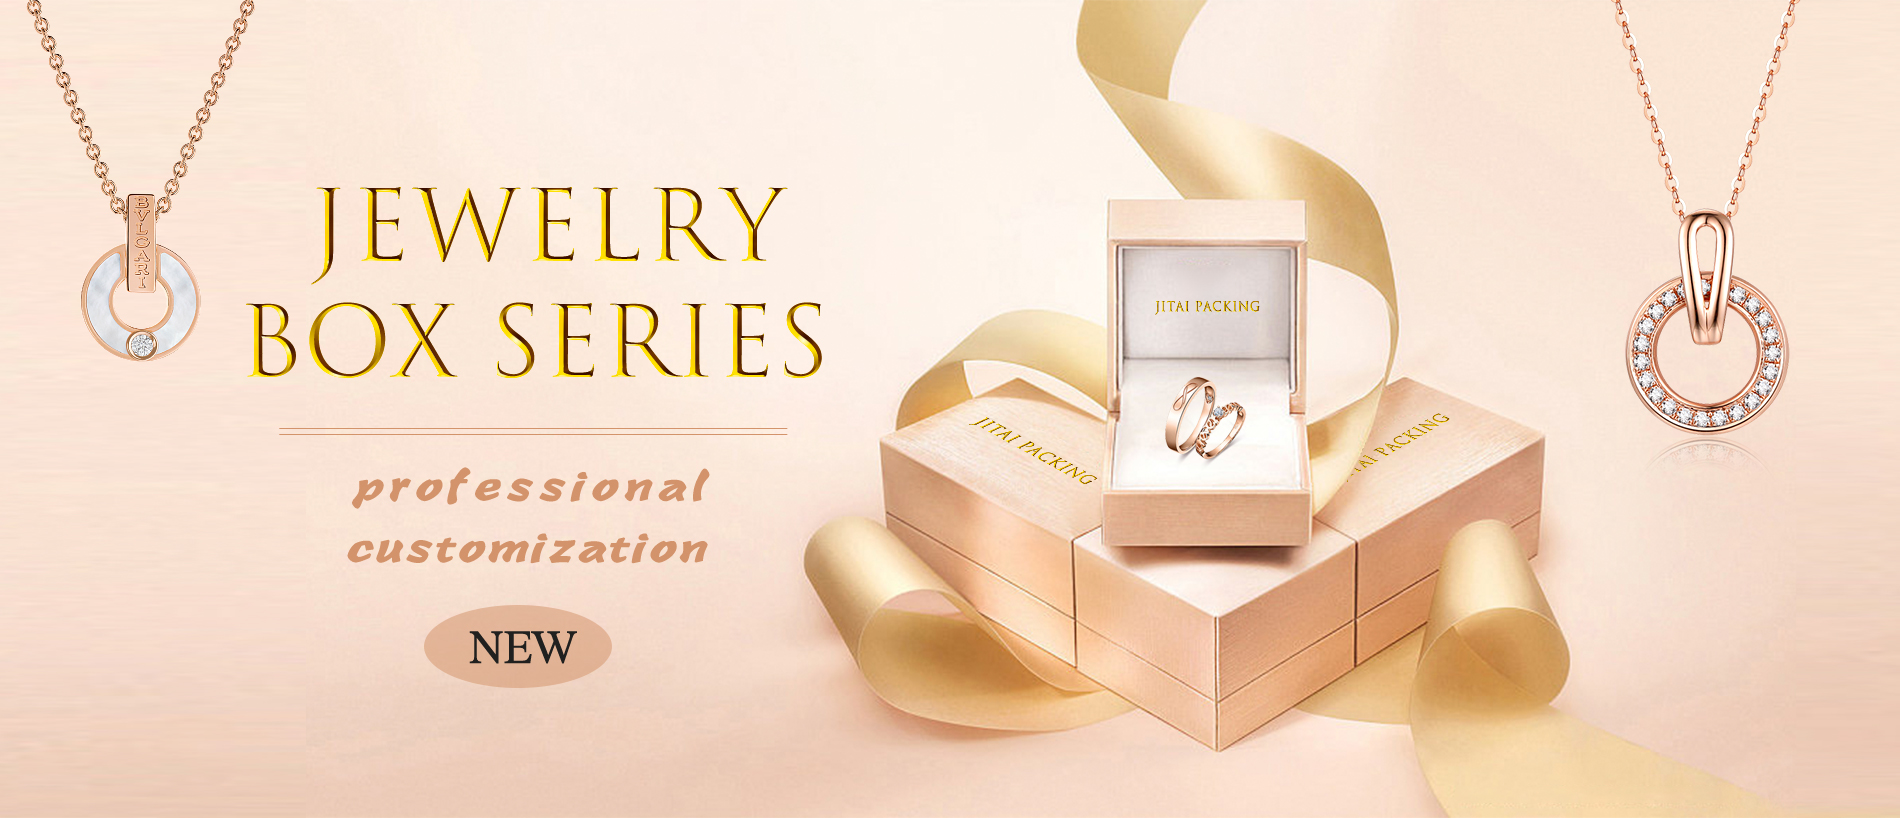
Crafting the Perfect Custom Jewelry Box
Creating a custom jewelry box is a great way to show off your personal style and protect your precious items. This article will guide you through the process of designing and creating a custom jewelry box that perfectly suits your needs.
Step 1: Determine Your Needs
The first step in creating a custom jewelry box is to determine your needs. Consider how many pieces of jewelry you have, what types of jewelry you own, and how you plan to use the box. This will help you determine the size and shape of your jewelry box, as well as any special features you may want to include.
Step 2: Choose Your Materials
Once you know what you need, it's time to choose your materials. The materials you choose will depend on your budget, the level of protection you need, and your personal style. Common materials for jewelry boxes include wood, leather, and metal.
Step 3: Design Your Jewelry Box
With your needs and materials in mind, it's time to design your jewelry box. Consider the shape of the box, the number of compartments you need, and any special features you want to include. You can design your jewelry box using a computer program or sketch it out by hand.
Step 4: Build Your Jewelry Box
Once you have a design, it's time to build your jewelry box. If you're skilled with woodworking tools, you can build the box yourself. If not, you may want to hire a professional to build it for you. Be sure to use high-quality materials and follow your design carefully to ensure the best results.
Step 5: Customize Your Jewelry Box
The final step in creating a custom jewelry box is to customize it to your liking. You can add a personal touch by painting or staining the box, adding decorative hardware, or adding a monogram or nameplate. The possibilities are endless!
By following these steps, you can create a custom jewelry box that perfectly suits your needs and reflects your personal style.


